By Maribel · Maribel Designs 4 U · Parts of a sewing machine for beginners
Introduction
So you’ve got a sewing machine — maybe it’s been sitting in the corner of your room for a while, or maybe it just arrived and you’re staring at it wondering where to even begin. Friend, I’ve been there!
Before you sew your very first stitch, there’s one thing that will make everything easier: knowing your machine. I mean really knowing it — what each part is called, what it does, and why it matters.
In this post (and the companion YouTube video!), we’re going to walk through the key parts of a sewing machine together, nice and slow. By the end, that intimidating machine will feel a whole lot more like a friend.
🎥 Watch the video version of this lesson on my YouTube channel! It’s always easier when you can see it in action.
Why It Matters to Know Your Machine
You wouldn’t try to bake a cake without knowing what an oven or a mixing bowl is, right? Sewing is the same way. When you understand what each part of your machine does, you can:
- Follow tutorials without getting lost
- Troubleshoot problems on your own
- Thread your machine correctly every single time
- Feel confident sitting down to sew
This is the foundation of everything. Let’s build it together!
The Parts of a Sewing Machine
Every machine is a little different, but most home sewing machines share the same essential parts. Here’s what you need to know:
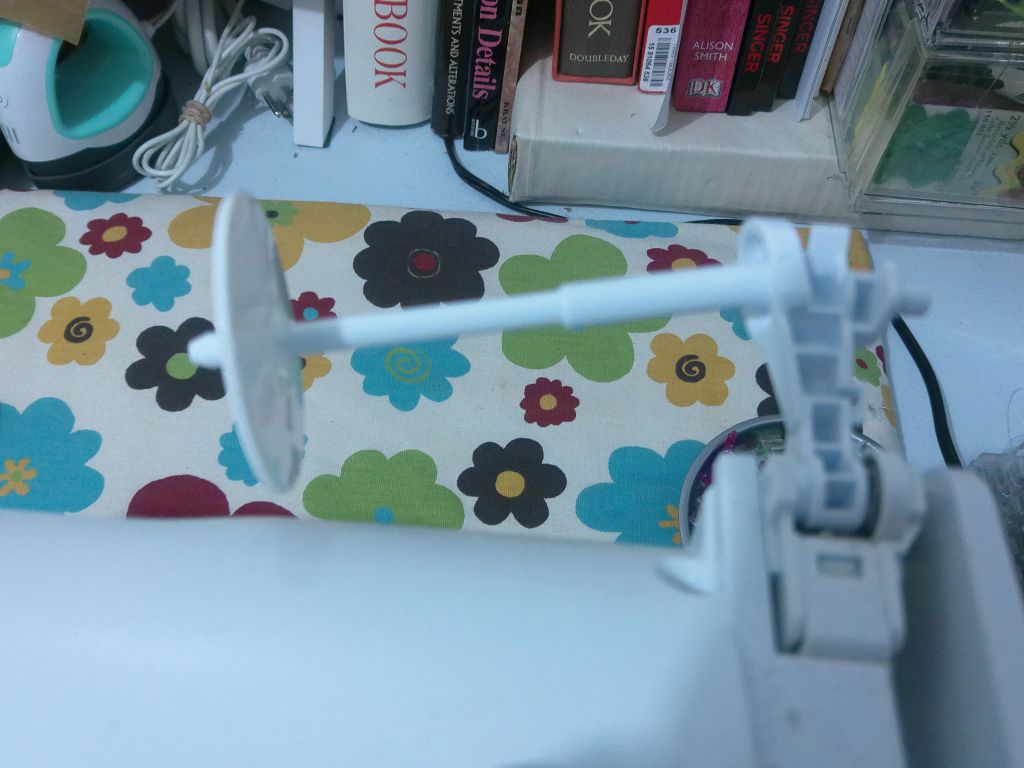
🧵 The Spool Pin
This is the little pin (usually on the top of your machine) where your main spool of thread sits. It holds your thread in place while you sew.
Tip: Some machines have a horizontal spool pin and others have a vertical one. Both work the same way — just make sure your thread unwinds smoothly!
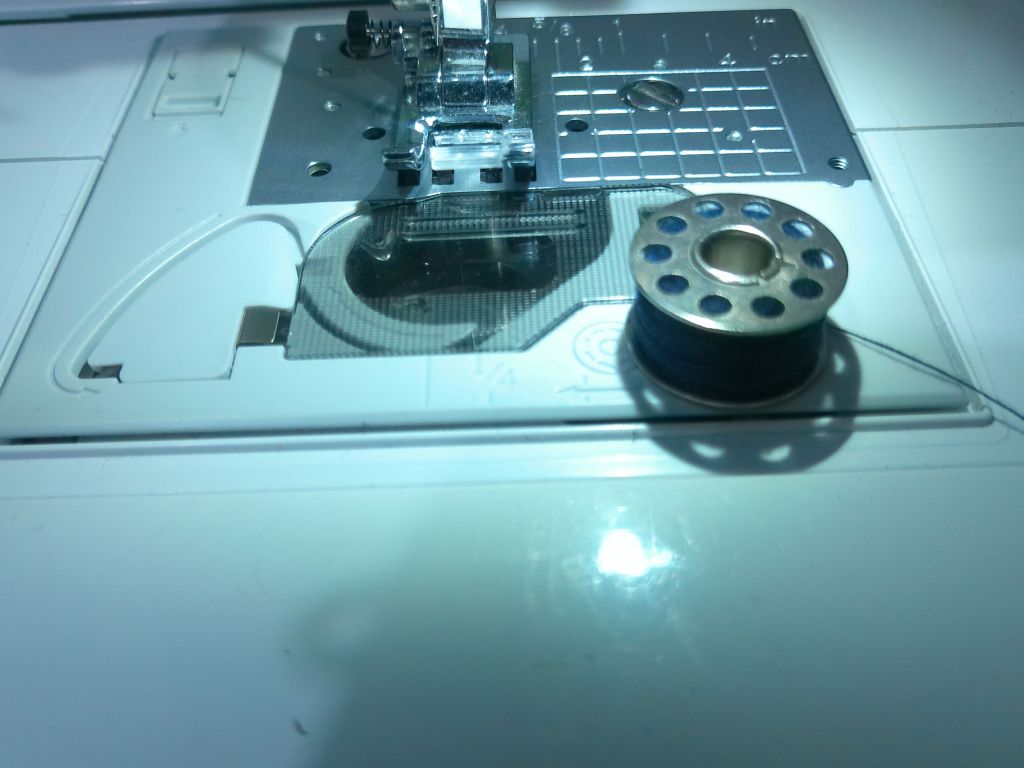
🧵 The Bobbin & Bobbin Case
The bobbin is a small spool that holds the bottom thread. When you sew, your machine uses two threads — one from the top (your main spool) and one from the bottom (the bobbin) — and locks them together to form a stitch.
The bobbin sits in the bobbin case, which is located underneath the needle plate. Some machines have a front-loading bobbin case, while others have a drop-in (top-loading) bobbin. Check your manual to find out which type you have!
Tip: Always wind your bobbin before you start a new project and make sure it’s inserted correctly — this is one of the most common reasons for skipped stitches or tension problems.
🧵 The Thread Guide(s)
These little hooks and loops guide your thread from the spool pin down through the machine in the right path. Following the thread guides correctly is essential for your machine to sew properly.
Tip: Most machines have a numbered or diagrammed threading path printed right on the machine. Follow it step by step!
🧵 The Tension Dial
The tension dial controls how tightly the thread is pulled as you sew. Getting your tension right is key to beautiful, even stitches.
- Too tight → thread breaks or puckers the fabric
- Too loose → loops appear on the top or bottom of your fabric
For most beginner projects, a tension setting right in the middle works great. We’ll do a deeper dive on tension in a future post!
🧵 The Take-Up Lever
This is the moving part that goes up and down as you sew — it pulls the thread up after each stitch is formed. You’ll pass your thread through this lever when threading your machine.
Important: Always make sure the take-up lever is in the up position before you remove your fabric. This prevents the thread from pulling out of the needle.
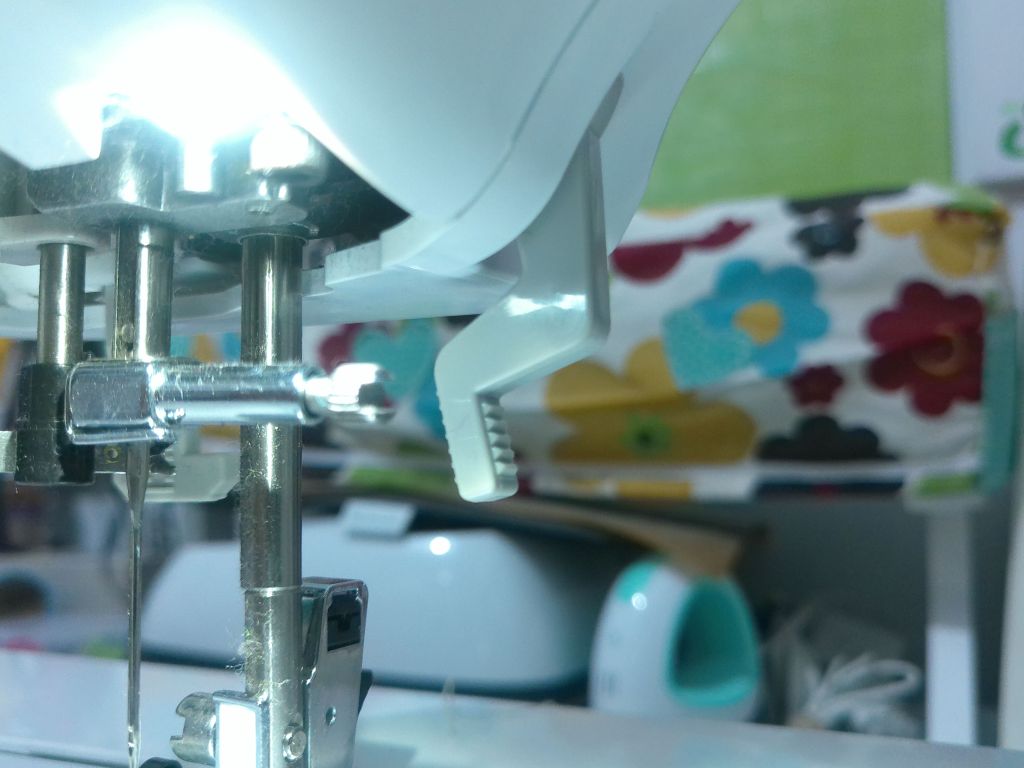
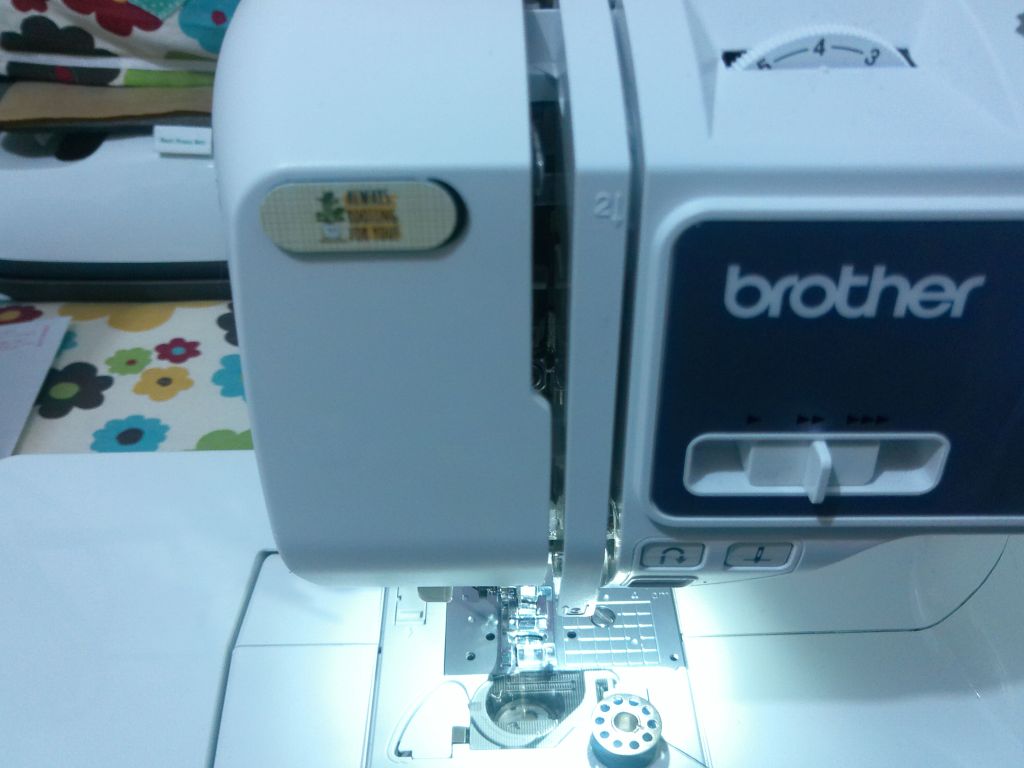
🧵 The Presser Foot
The presser foot holds your fabric flat against the machine as you sew. It “presses” down on the fabric so it feeds through evenly.
Most machines come with several interchangeable presser feet for different tasks — but for beginners, you’ll mostly use the all-purpose foot (also called the zigzag foot).
Tip: Always lower your presser foot before you start sewing, and raise it before removing your fabric.
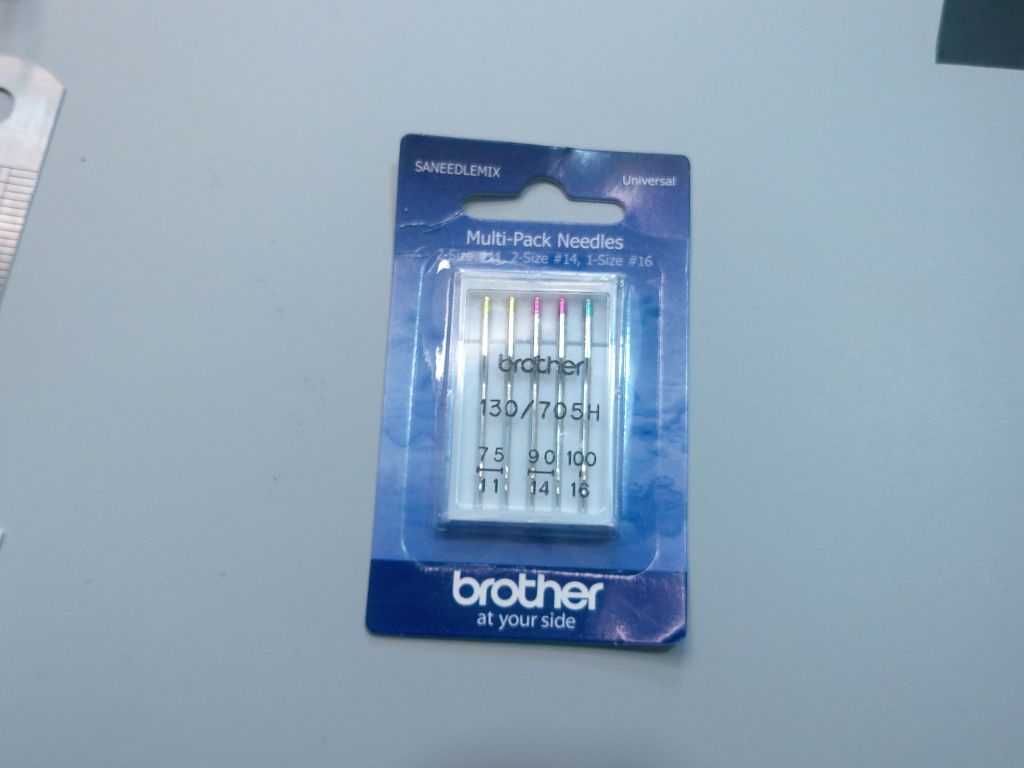
🧵 The Needle
The needle is what actually pierces the fabric and carries the top thread through to meet the bobbin thread. Needles come in different sizes and types for different fabrics.
For now, a universal needle in size 80/12 is a great all-around starting point for most beginner fabrics.
Tip: Change your needle regularly! A dull needle causes skipped stitches, snags, and all kinds of frustration. When in doubt, change it out.
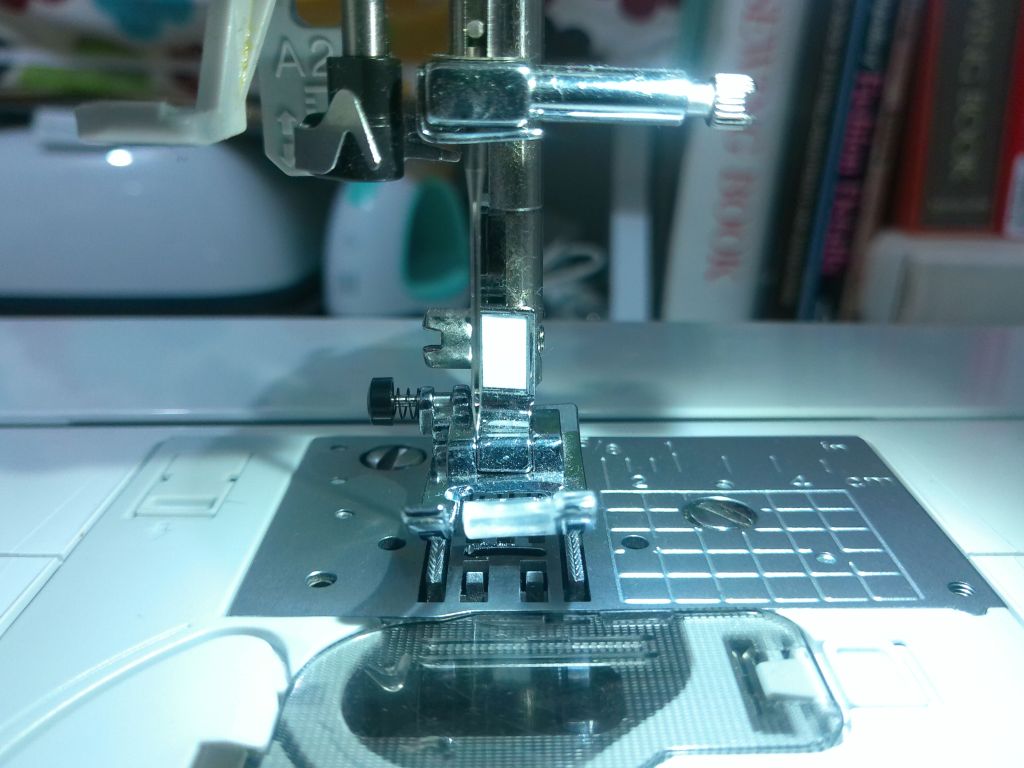
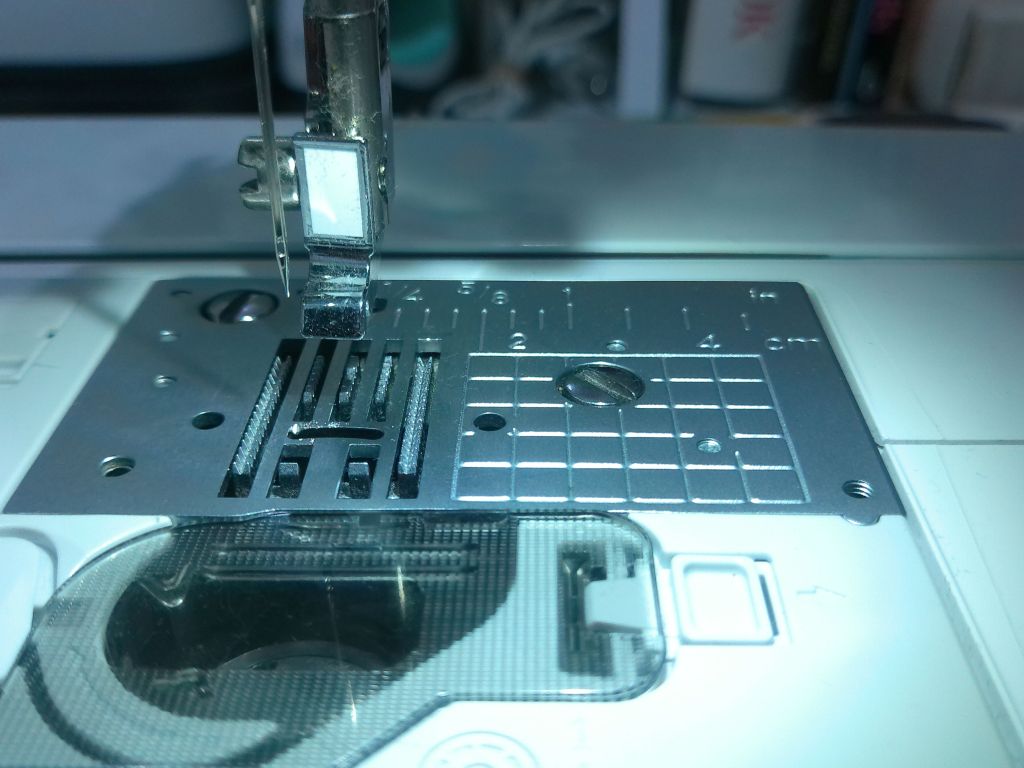
🧵 The Feed Dogs
These are the little ridged teeth underneath the presser foot that grip the fabric and move it forward as you sew. You don’t have to think about them much — they do their job automatically!
Tip: Make sure you’re not pulling or pushing your fabric while sewing. Let the feed dogs do the work. Forcing the fabric can bend or break your needle.
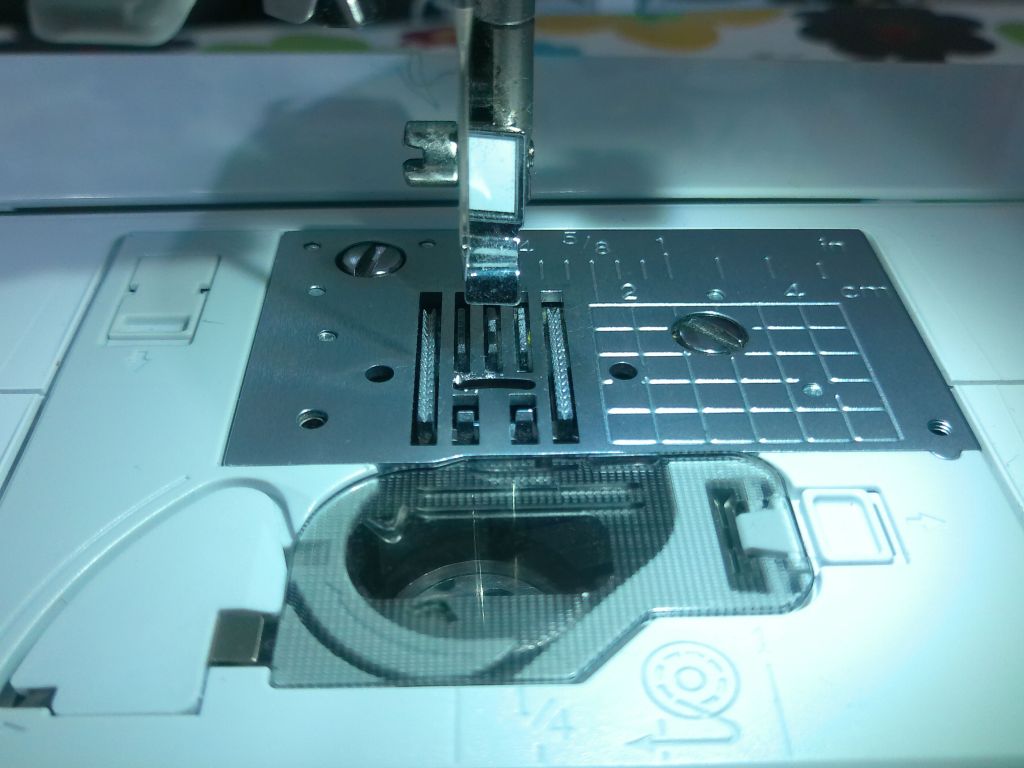
🧵 The Needle Plate (Throat Plate)
The needle plate is the flat metal piece that surrounds the feed dogs and sits beneath your fabric. It usually has guidelines etched into it — those lines help you sew a straight seam allowance without measuring every time.
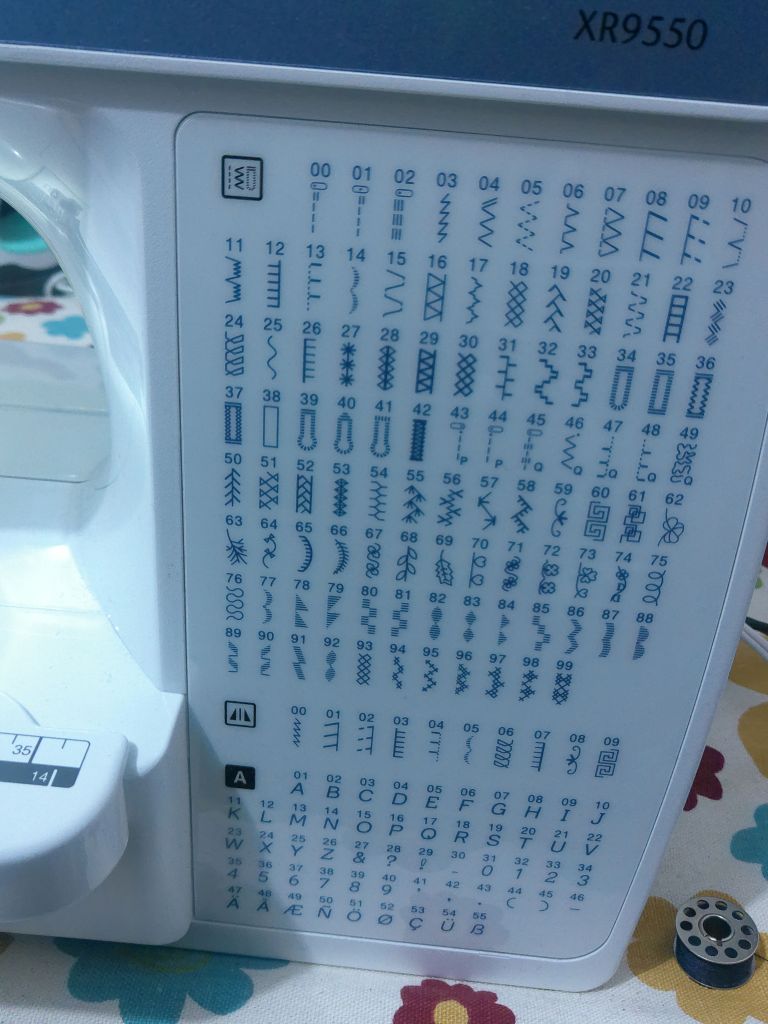
🧵 The Stitch Selector
This dial or digital panel lets you choose which type of stitch you want to sew. Common options include:
- Straight stitch – the workhorse stitch for most sewing projects
- Zigzag stitch – great for finishing edges and stretchy fabrics
- Buttonhole stitch – for making buttonholes (fancy!)
As a beginner, you’ll mostly live on the straight stitch. 😊
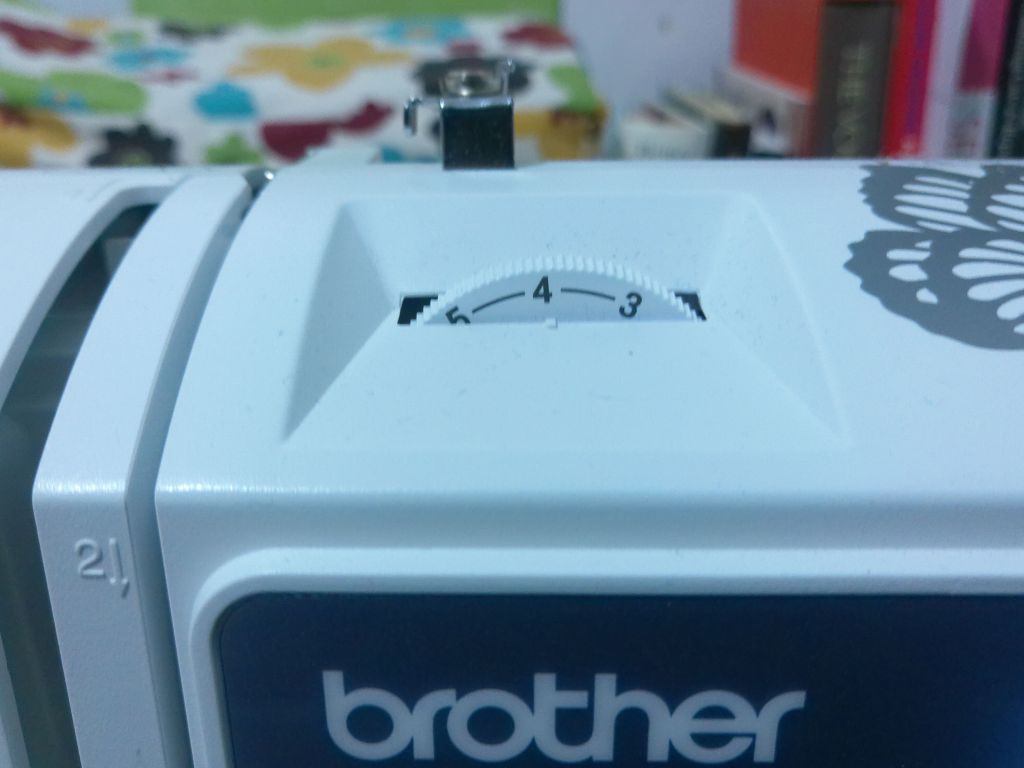
🧵 The Stitch Length & Width Dials
These control how long and wide each stitch is.
- Stitch length – a longer stitch is great for basting (temporary stitches); a shorter stitch is stronger
- Stitch width – only matters for stitches like the zigzag; controls how wide the stitch spreads
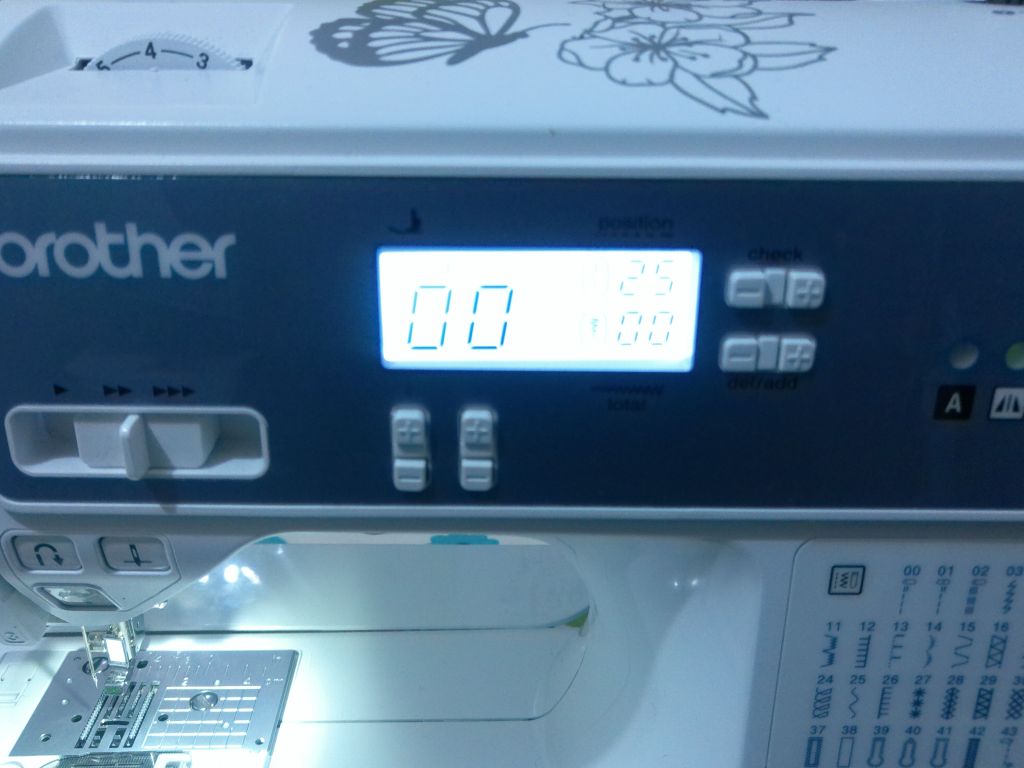
A stitch length of 2.5–3mm is a good standard setting for most projects.
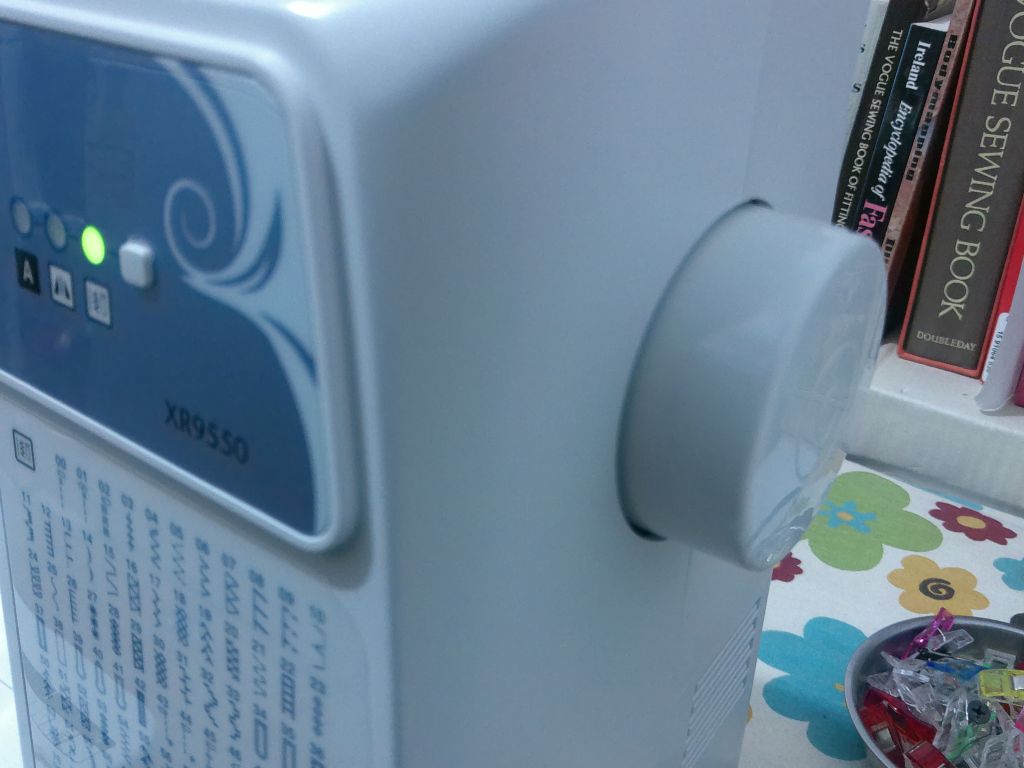
🧵 The Handwheel
The handwheel is the large wheel on the right side of your machine. Turning it toward you moves the needle up and down manually — useful for precise control or getting your needle in just the right position.
Always turn the handwheel toward you, never away from you.
🧵 The Foot Pedal
The foot pedal is what powers the machine — press it gently to sew slowly, and press it more firmly to speed up. Think of it like a gas pedal! For beginners, slow and steady is your best friend.
Let’s Put It All Together
Here’s a quick cheat sheet of all the parts we covered:
| Part | What It Does |
|---|---|
| Spool Pin | Holds your main thread spool |
| Bobbin | Holds the bottom thread |
| Thread Guides | Direct thread through the machine |
| Tension Dial | Controls thread tightness |
| Take-Up Lever | Pulls thread up after each stitch |
| Presser Foot | Holds fabric flat while sewing |
| Needle | Pierces fabric and carries top thread |
| Feed Dogs | Move fabric forward automatically |
| Needle Plate | Flat base with seam guide lines |
| Stitch Selector | Chooses the stitch type |
| Stitch Length/Width | Adjusts stitch size |
| Handwheel | Manually moves the needle |
| Foot Pedal | Controls sewing speed |
Your Homework Before the Next Lesson
Before we move on to threading your machine (that’s next!), here’s a little challenge:
- Pull out your sewing machine
- Open your machine’s manual (or look up your model online)
- Find and identify each part listed above on your machine
You don’t have to sew anything yet — just get familiar with where everything is. The more comfortable you are with your machine, the easier everything else will be!
Up Next in the Learn to Sew Series
In Part 2, we’re going to tackle threading your machine from start to finish — top thread and bobbin. It sounds complicated, but I promise it’s totally doable once you know the steps. See you there! 🧵
Save This Post for Later!
New to sewing and don’t want to lose this guide? Pin it to your Sewing for Beginners board on Pinterest so you can come back to it anytime!
